May 21, 2019
Gatsby and Netlify CMS Tutorial
gatsbynetlifynetlifyCMStutorialJAMstackcmsA step-by-step tutorial on adding Netlify CMS to your Gatsby site.
This tutorial will require basic knowledge of Gatsby (and therefore React).
Choosing a CMS for your Gatsby site.
When I first started playing with Gatsby I was keen to try it out with a content management system (CMS) but didn't want to have to pay for the privilege. Many popular CMS systems have a free tier so that you can have a go with it but I wanted something that would be completely free and not limited. There are a few open-source options which are great but they do require you to host your own instance of the CMS.
Netlify CMS uses your own Git repository and therefore does not require paid for cloud hosting or self-hosting at all. It's a relatively new project and therefore isn't totally polished but it's easy enough to set up and provides everything you need for a basic CMS.
Gatsby have their own tutorial on how to link the two. It's definitely worth a read as a starting point. It's quite brief so I wanted to make this post to show a bit more of what you can do.
What you will need:
-
A Gatsby project. You can use an existing project or use a Gatsby starter. I'm going to be using the default gatsby starter for this tutorial.
-
A GitHub account.
-
A Netlify account. If you don't already have one of these, you're missing out!
Link the project to GitHub and host it on Netlify.
Get it in Github
Netlify CMS needs your content to be in a Git repo so the first thing to do is to push the site to GitHub. Create a repo in GitHub and then use the following commands in your project.
git initgit remote add origin https://github.com/[YOUR-GITHUB-USERNAME]/[YOUR-REPO-NAME].gitgit push -u origin masterGet it on Netlify
Now that your content is in a Git repo we need to host it on Netlify. You can use another hosting service but Netlify is free and makes everything super easy. If you've not done this before its very simple.
-
Login to Netlify.
-
Click 'New site from Git'.
-
Click 'GitHub' under 'Continuous Deployment'. You will need to authorise Netlify to access your GitHub account here if you haven't already.
-
Select the nice new repo you just made for your project.
-
Leave the settings as they are and click 'Deploy site'
And thats it! Your site will be available on a netlify subdomain and is now linked to the master branch of your repo. So, if you push changes to master, the Netlify site will rebuild and you will be able to see those changes.
Authorise Netlify to make changes to the repo
Changes made in the CMS are stored in our GitHub repo so we need to give Netlify permission to do this. This can be done in two steps:
-
Login to GitHub and go to Settings > Developer Settings > OAuth Apps. Click the New OAuth App button and give the app a name you will recognise. The homepage URL is the Netlify subdomain that your site is available at. And the authorisation callback URL should be
https://api.netlify.com/auth/done. Click 'Register Application' and you will be given a client ID and client secret. -
Once this is done you need to login to Netlify, find your site and go to Site Settings > Access Control > OAuth. Click 'Install provider', select GitHub as the provider and then add the ID and secret that you got from Github.
Hooray all done!
Setting up Netlify CMS.
First install the relevant packages netlify-cms and gatsby-plugin-netlify-cms:
npm install --save netlify-cms gatsby-plugin-netlify-cmsIn order to use the plugin we must add the following code to the gatsby-config.js file:
// In your gatsby-config.js file

module.exports = {
  plugins: [
      // ... other plugins
      `gatsby-plugin-netlify-cms`,
      // ... other plugins
      ],
}
Now for the exciting bit! We need to add a configuration file for the CMS. This has to be in a very specific location with a specific name. Go into your root directory and check to see if you have a static folder. If you don't, make one.
Then add an admin folder inside this and add a file called config.yml.
So, the path to your new file should be static/admin/config.yml
Let's start by adding the following to our new file:
# In your static/admin/config.yml file

backend:
    name: github
    repo: [YOUR-GITHUB-USERNAME]/[YOUR-REPO-NAME]

media_folder: static/assets
public_folder: assets
Replace the repo with the path to your project repo on GitHub.
Configuration options for Netlify CMS...
Okay, so now the important bit.
We must have a collections section in our config file. How you configure this will depend on what you want your CMS to do.
There are two types of collection:
-
Folder collections
-
File collections
Folder collections are used for content of the same format. For example, a blog will have multiple posts or a shop will have multiple product pages. If you configure a folder collection, the CMS will produce a markdown file for every new post/product that you create and put them in the same folder. They will all use the same template.
File collections are used for uniquely configured files. These are ideal if you want the ability to edit parts of a webpage via the CMS. For example, on the about page you may want the user to be able to edit a list of people on the page and on the services page the user should be able to edit a small blurb and a list of services.
Most tutorials using Netlify CMS focus on folder collections and making a blog so I will focus on file collections for this tutorial. The Gatsby page on using Netlify CMS uses a blog example if you're looking for help with making a blog.
So what do I want to edit?
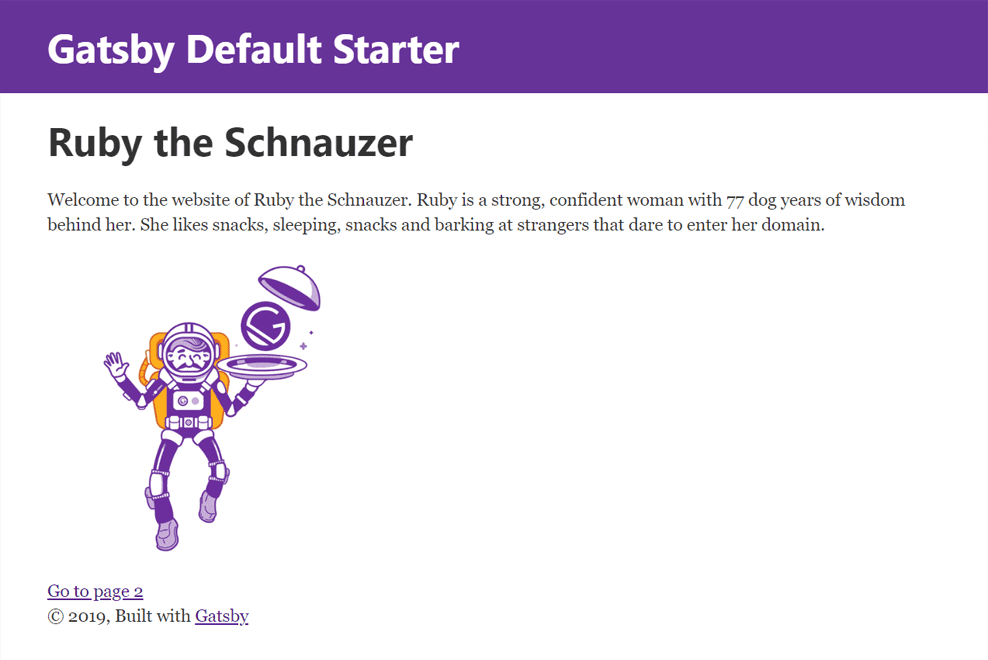
Let's look at the first page in my project:
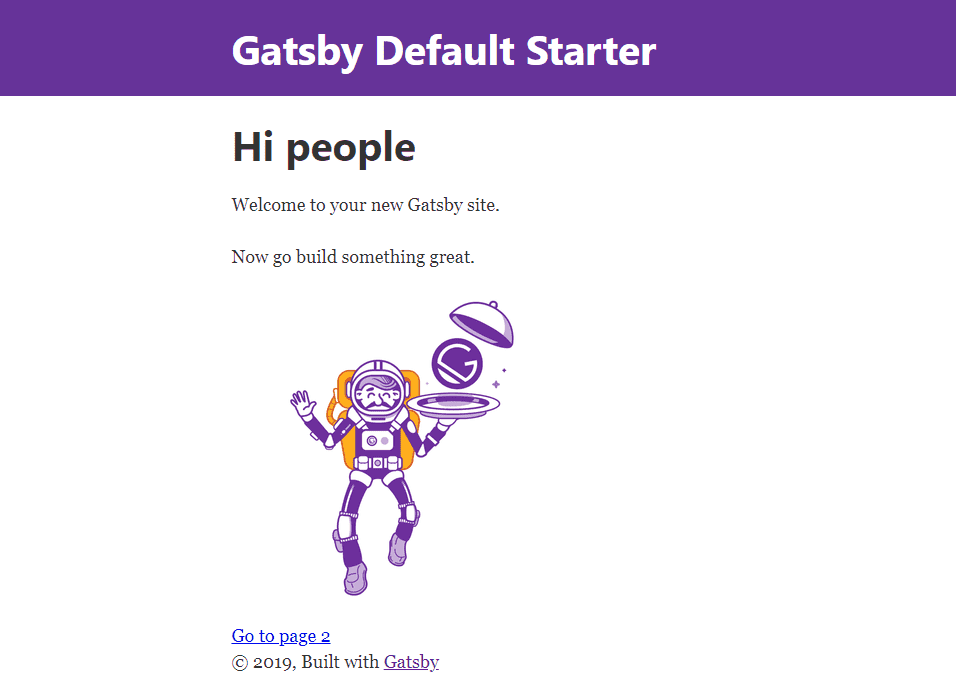
I'm going to make it possible to edit the following things from the CMS:
-
The title (currently 'Hi people')
-
The text underneath
-
The image
I could do this using markdown but I want to make sure that the layout of title, text and image is preserved. As this title, text, image setup is unique to my homepage I am going to use a file collection in my Netlify configuration.
Setting up a file collection.
This bit is going to look a little overwhelming but bear with me!
Add the following to your static/admin/config.yml file:
# In your static/admin/config.yml file

backend:
    name: github
    repo: [YOUR-GITHUB-USERNAME]/[YOUR-REPO-NAME]

media_folder: static/assets
public_folder: assets

collections:  - label: "Pages"    name: "pages"    files:      - label: "Home Page"        name: "home"        file: "content/home.md"        fields:          - {label: Title, name: title, widget: string}          - {label: Intro text, name: intro, widget: text}          - {label: Image, name: image, widget: image}
Okay so what does this all mean?
Everything requires a label and a name. The label is what is shown in the admin panel to the user and the name is how we refer to it in our code.
So, we name and label our collection 'Pages'.
Then we say that we're going to make a file collection by using files:
Now we give this first file a name and label. As we're setting up the home page, we will call it this to make it clear.
We then have to define the location of the markdown file that we're editing. I like to keep this in a separate folder from the rest of my code so I will put it in a folder called 'content' and name the file home.md to be clear.
Important!!
When making file collections the file that we define must already exist, even if its empty of content.
So, let's make that 'content' folder in the root and add the empty home.md file to it.
Push all these changes to your Github repo.
Using the admin panel.
Now let's have a look and see if it worked.
In your browser, go to '[YOUR-NETLIFY-SUBDOMAIN]/admin/'. You will be asked to enter your GitHub login details. Go ahead and do that.
You should then see the following screen:
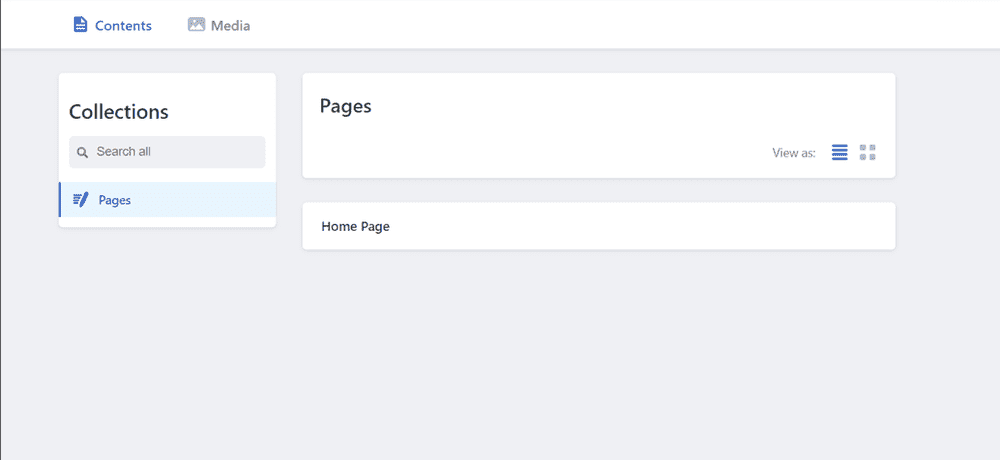
There's our Home Page file! Click on it.
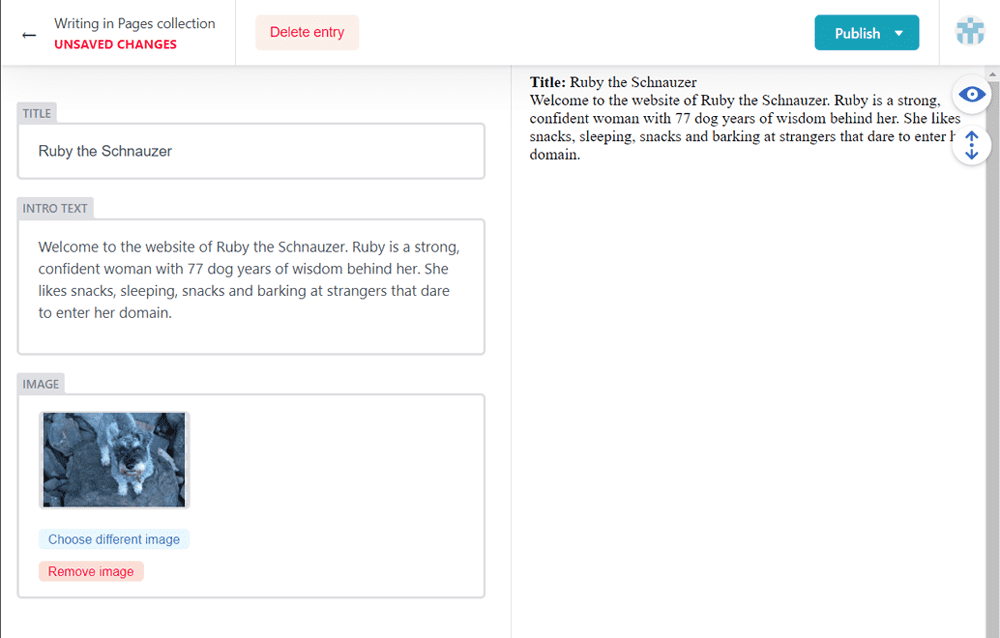
You can see the three widgets that we defined in our Netlify configuration file using the fields:. They will be empty when you first load it up.
I've already entered some information into these and chosen a picture. When I click the Publish button these changes will be pushed straight to our GitHub repo.
Make sure that you pull these changes into your local repo before making any more changes to your code locally!
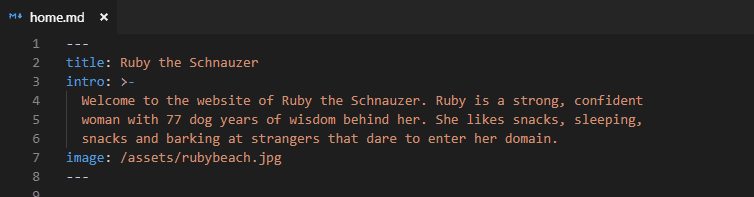
When we pull in the changes from Git we can have a look at our markdown file and see that our content has been added!
Getting the data into our website!
So now we have a way to get content through a nice admin panel into our repo. But we can't see it on the site yet because we haven't told Gatsby to find it and add it to our page.
To do this we're going to need a few packages. Make sure gatsby-source-filesystem and gatsby-transformer-remark are installed.
npm install --save gatsby-source-filesystem gatsby-transformer-remarkWe need to tell Gatsby where to look for our files first using gatsby-source-filesystem. We will need to set up two separate source instances - one for the markdown files and one for the images. We also need to add gatsby-transformer-remark to the plugin list.
In your gatsby-config.js file add the following:
// In your gatsby-config.js file

module.exports = {
  plugins: [
      // ... other plugins
      {
        resolve: `gatsby-source-filesystem`,
        options: {
          path: `${__dirname}/static/assets`,
          name: 'images',
        },
      },
      {
        resolve: `gatsby-source-filesystem`,
        options: {
          name: `content`,
          path: `${__dirname}/content`,
        },
      },
      'gatsby-transformer-remark',
      // ... other plugins
      ],
}
The first source instance looks for the images uploaded by Netlify CMS (this media folder was set in NetlifyCMS's config.yml file).
The second looks for the markdown files produced by the CMS.
Time for GraphQL...
GraphQL is daunting and confusing. I completely agree. But we do need it to pull in our data and once you get the hang of it it gets easier. I'm still learning more and more about it every day so I can't promise that this is the most concise way to use it. But it will do the job!
This isn't a tutorial on how to use GraphQL (it's already long enough!) so follow along as best you can, and if all else fails - copy/paste should get you what you need!
To get the data into our page we need to write a query. We can use a handy tool called GraphiQL to test out our queries and check that they work. If you're using the standard Gatsby dev server it will be available at 'http://localhost:8000/___graphql'.
We want to select the node that is our home.md markdown file. One way of doing this is to query all the files for a specific sourceInstance. We then filter for a file called 'home'.
Note: We have two source instances that we setup in the `gatsby-config.js' file called 'content' and 'images'.
allFile (filter: {sourceInstanceName: {eq: "content"} name: {eq: "home"}})Once we have selected this node we use childMarkdownRemark to read the markdown file.
Markdown files are split into frontmatter and html. The body of the markdown file will be written in markdown and can be found under html. Any thing else such as strings, dates etc will come under frontmatter. As we don't have a body on our markdown file we need to look in frontmatter and request our three content items: title, intro and image.
To put the completed query into our index.js page we first need to import GraphQL from Gatsby:
// In your index.js file

import { graphql } from 'gatsby';
Then at the bottom of the file under the default export statement we add the following:
// In your index.js file

export const query = graphql`
  query {
    allFile (filter: {sourceInstanceName: {eq: "content"} name: {eq: "home"}}) {
      edges {
        node {
          childMarkdownRemark {
            frontmatter {
              title
              intro
              image
          }
        }
      }
    }
  }
}`
The result is an object that follows the shape of this query on props.data.
Note: edges is an array.
Replacing the content.
We can call our new title like this:
props.data.allFile.edges[0].node.childMarkdownRemark.frontmatter.title // = 'Ruby the Schnauzer'This is very long-winded and can be a real pain if you have lots of frontmatter to input. We'll make it clearer by defining a variable in the render method for the first part.
const data = props.data.allFile.edges[0].node.childMarkdownRemark.frontmatterNow we can put our new title and intro into the page!
// In your index.js file
const IndexPage = (props) => {
const data = props.data.allFile.edges[0].node.childMarkdownRemark.frontmatter
return (
<Layout>
<SEO title="Home" />
<h1>{data.title}</h1> <p>{data.intro}</p> <div style={{ maxWidth: `300px`, marginBottom: `1.45rem` }}>
<Image />
</div>
<Link to="/page-2/">Go to page 2</Link>
</Layout>
)
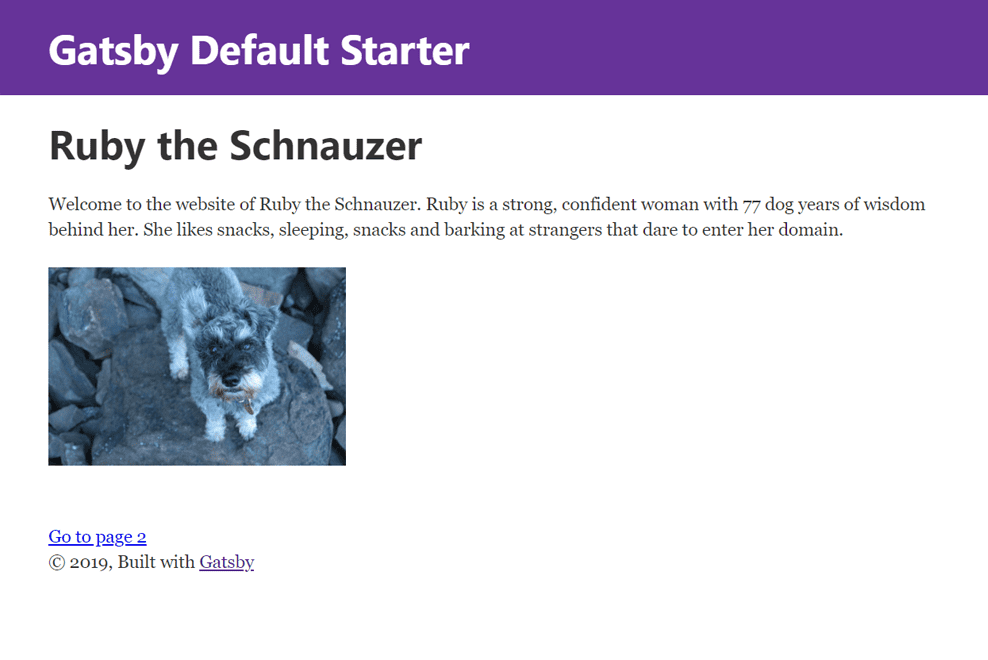
}And here it is:
That custom <Image /> component that comes with the starter I'm using uses gatsby-image. Netlify CMS requires an extra step to use gatsby-image so for now I'm just going to replace it with a standard <img> tag and put our image string as the source.
// In your index.js file

const IndexPage = (props) => {
  const data = props.data.allFile.edges[0].node.childMarkdownRemark.frontmatter
  return (
    <Layout>
      <SEO title="Home" />
      <h1>{data.title}</h1>
      <p>{data.intro}</p>
      <div style={{ maxWidth: `300px`, marginBottom: `1.45rem` }}>
        <img src={data.image} alt='photo of Ruby' />      </div>
      <Link to="/page-2/">Go to page 2</Link>
    </Layout>
  )
}
And there we have it. Push those changes and our page is now linked to Netlify CMS. If we make any changes in the admin panel they will be immediately reflected in the webpage. Hooray!
I hope this tutorial was helpful! I'd love to hear from you via the comments section below if it helped you.
Have a look at the GitHub repo for this project here.